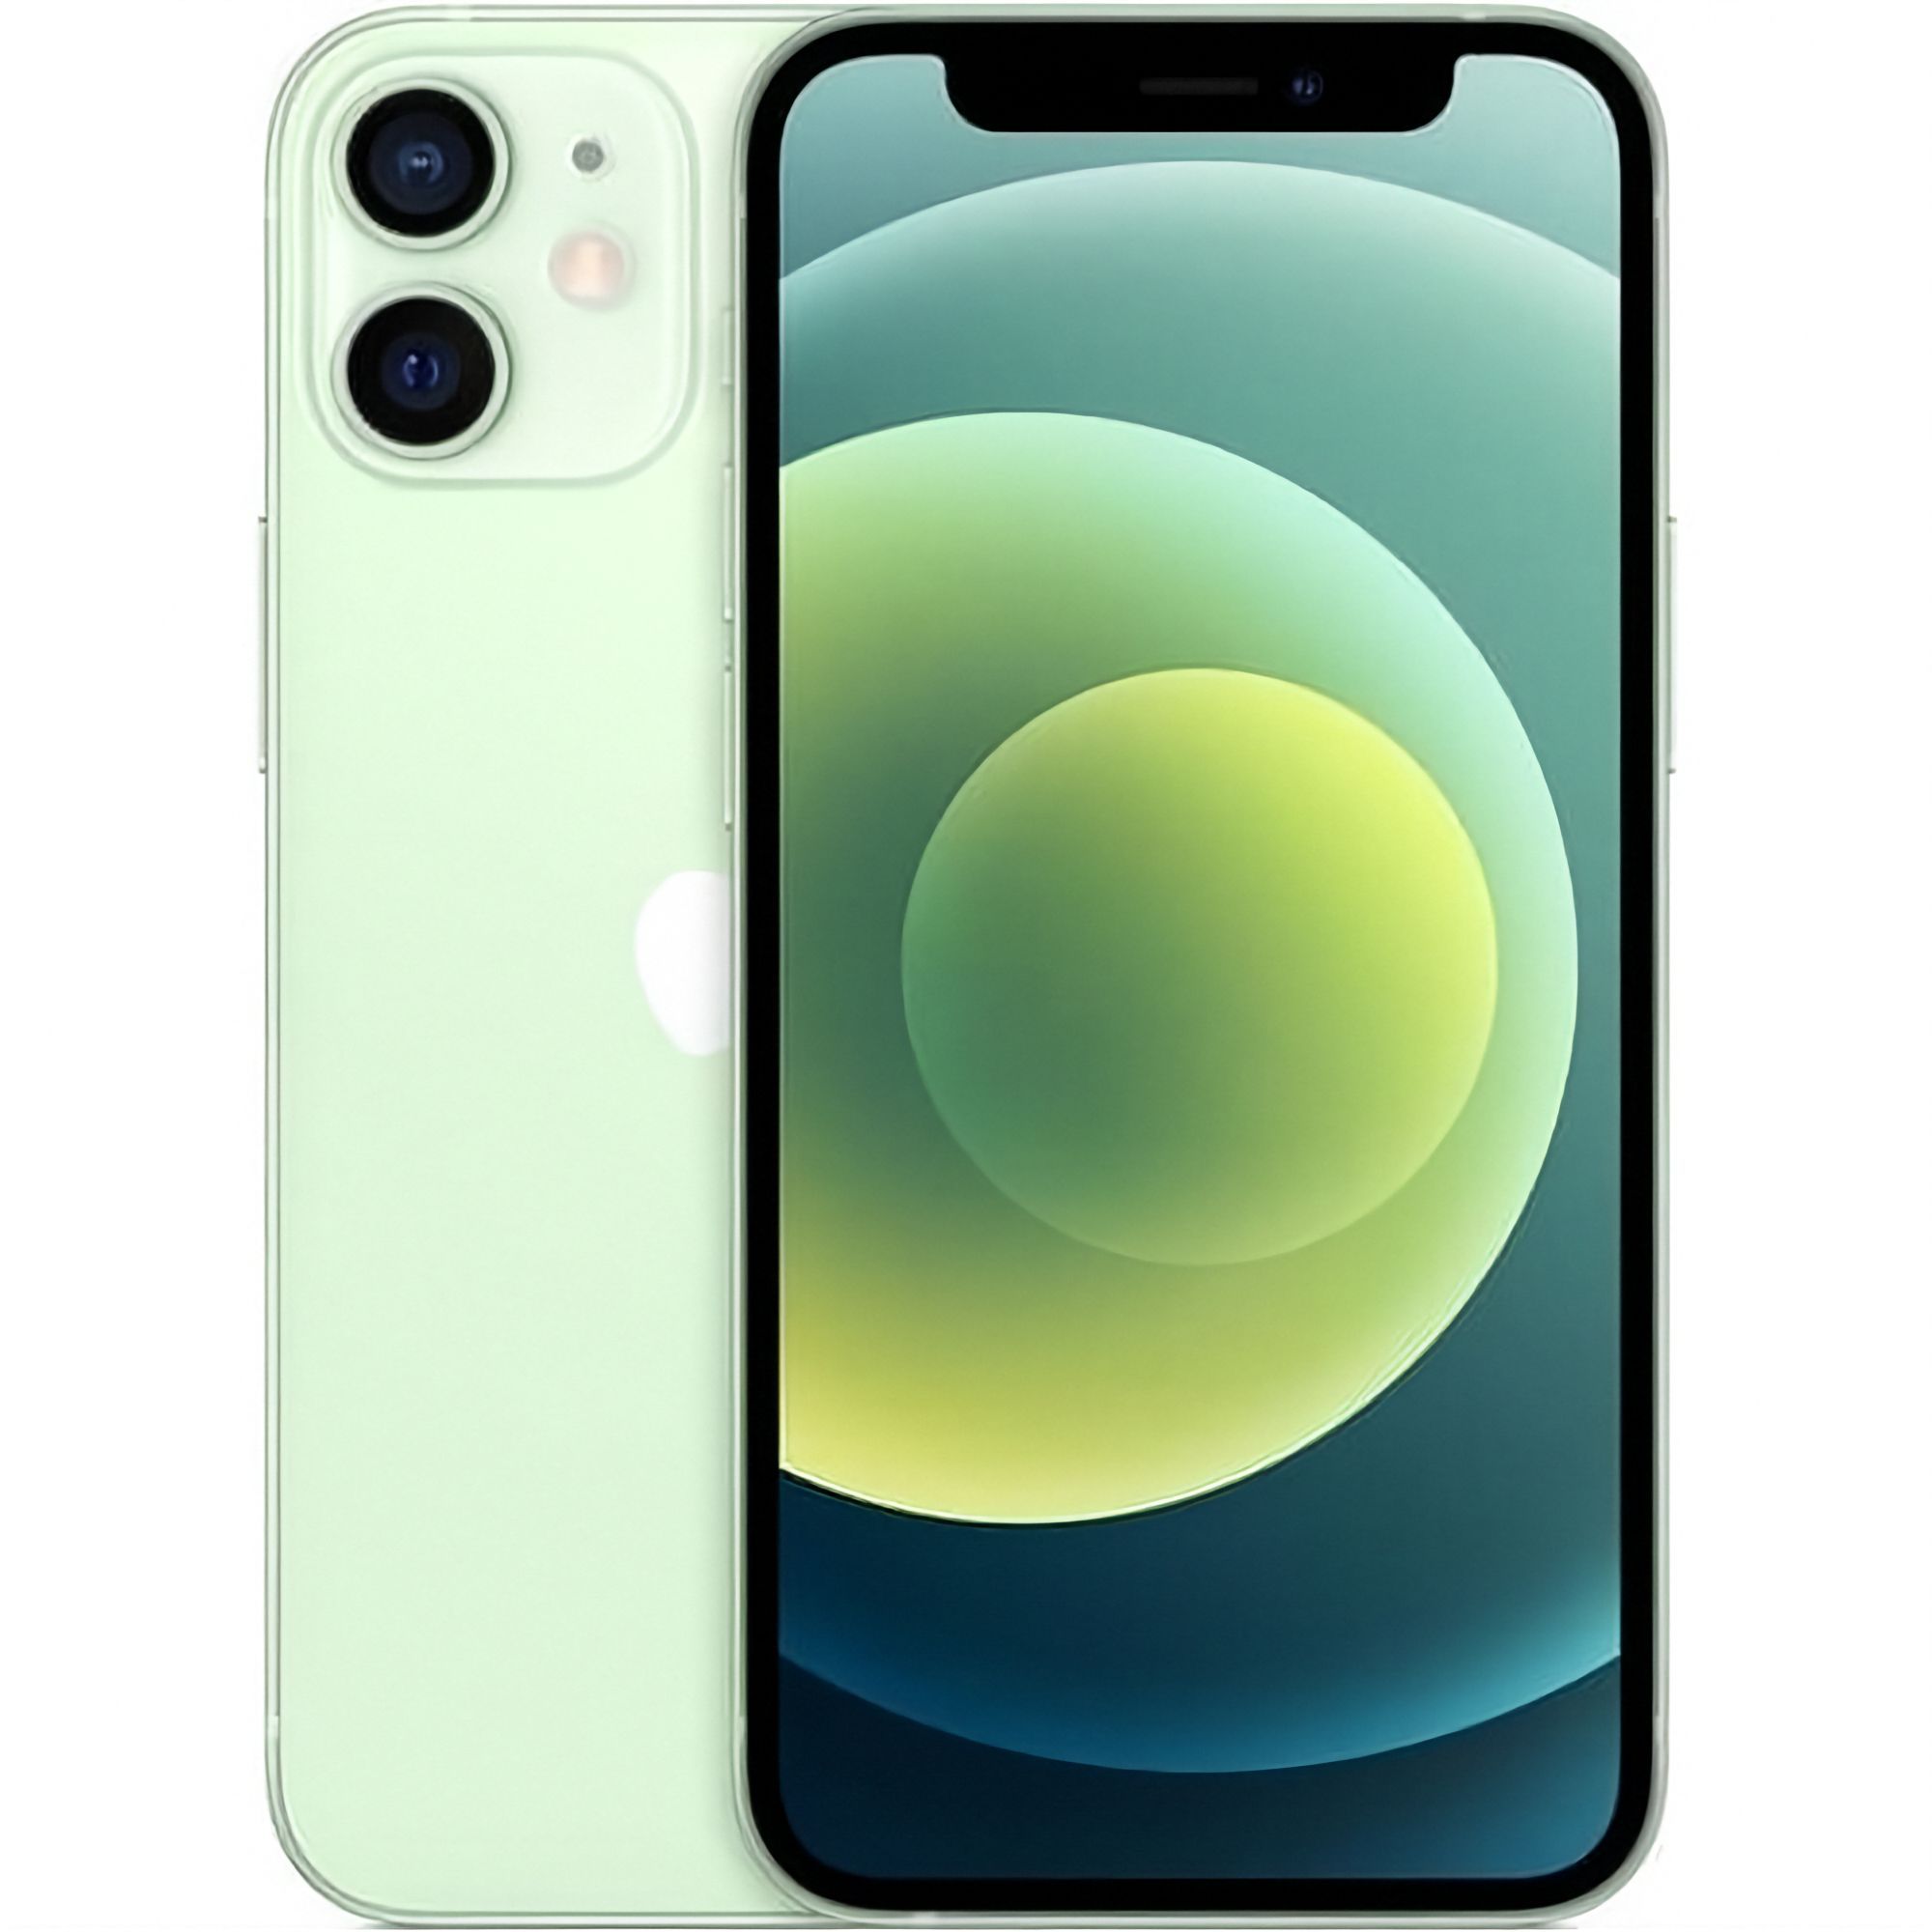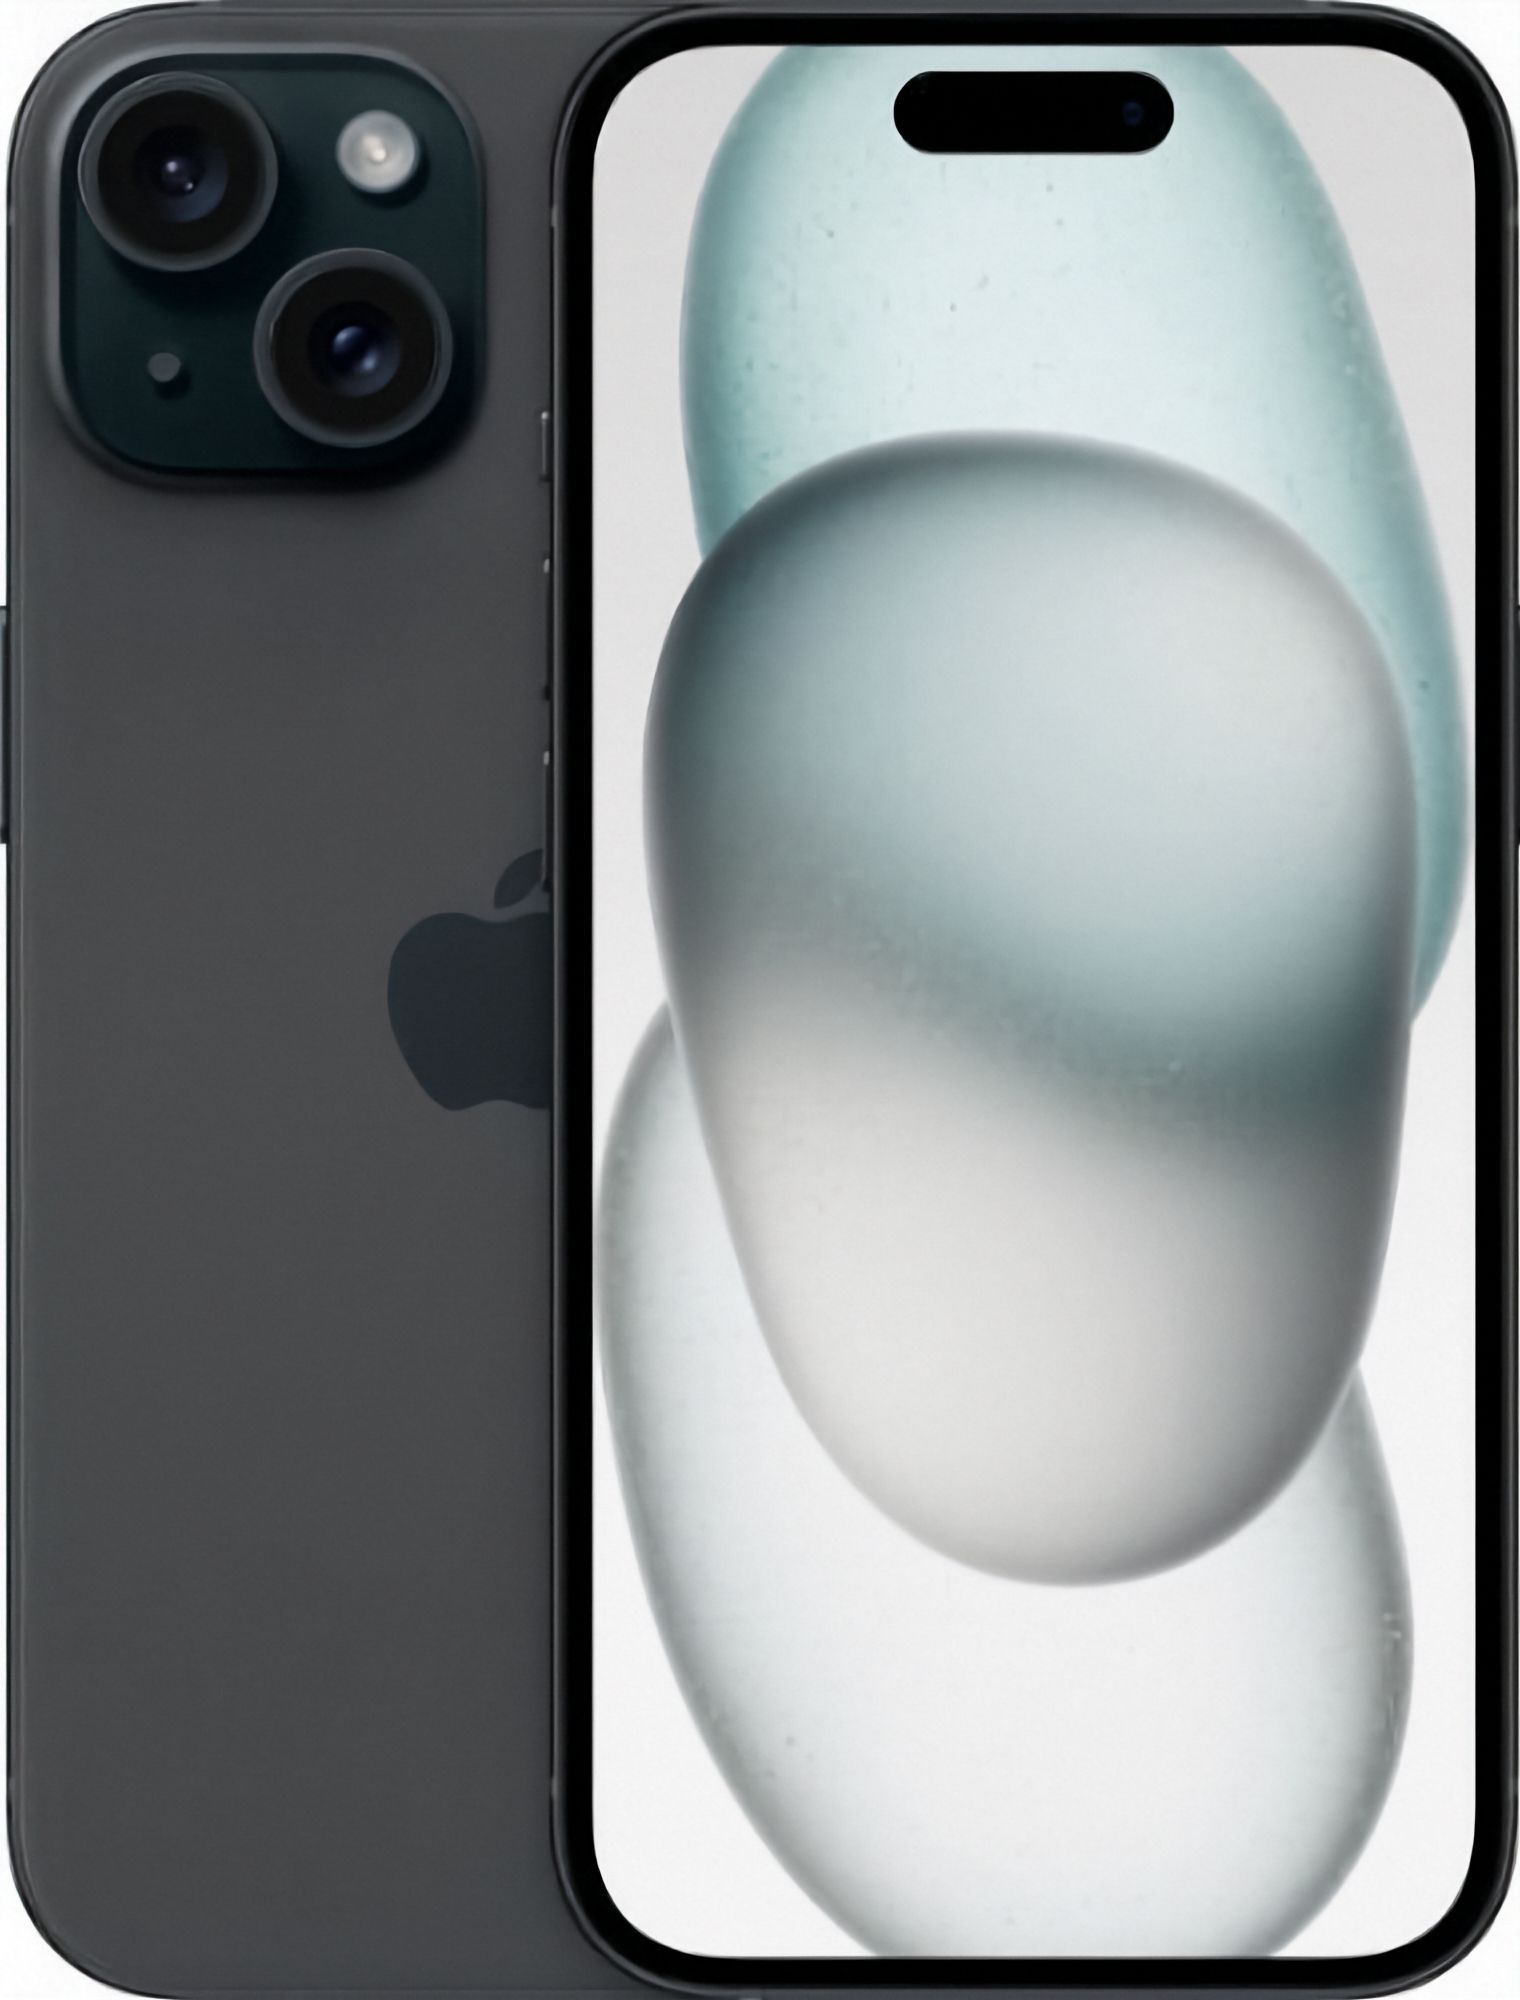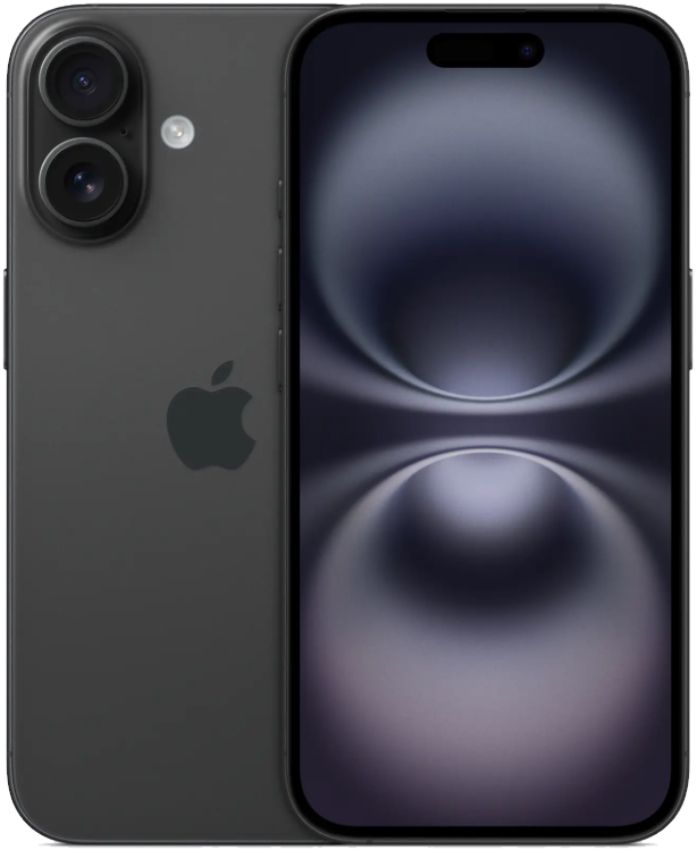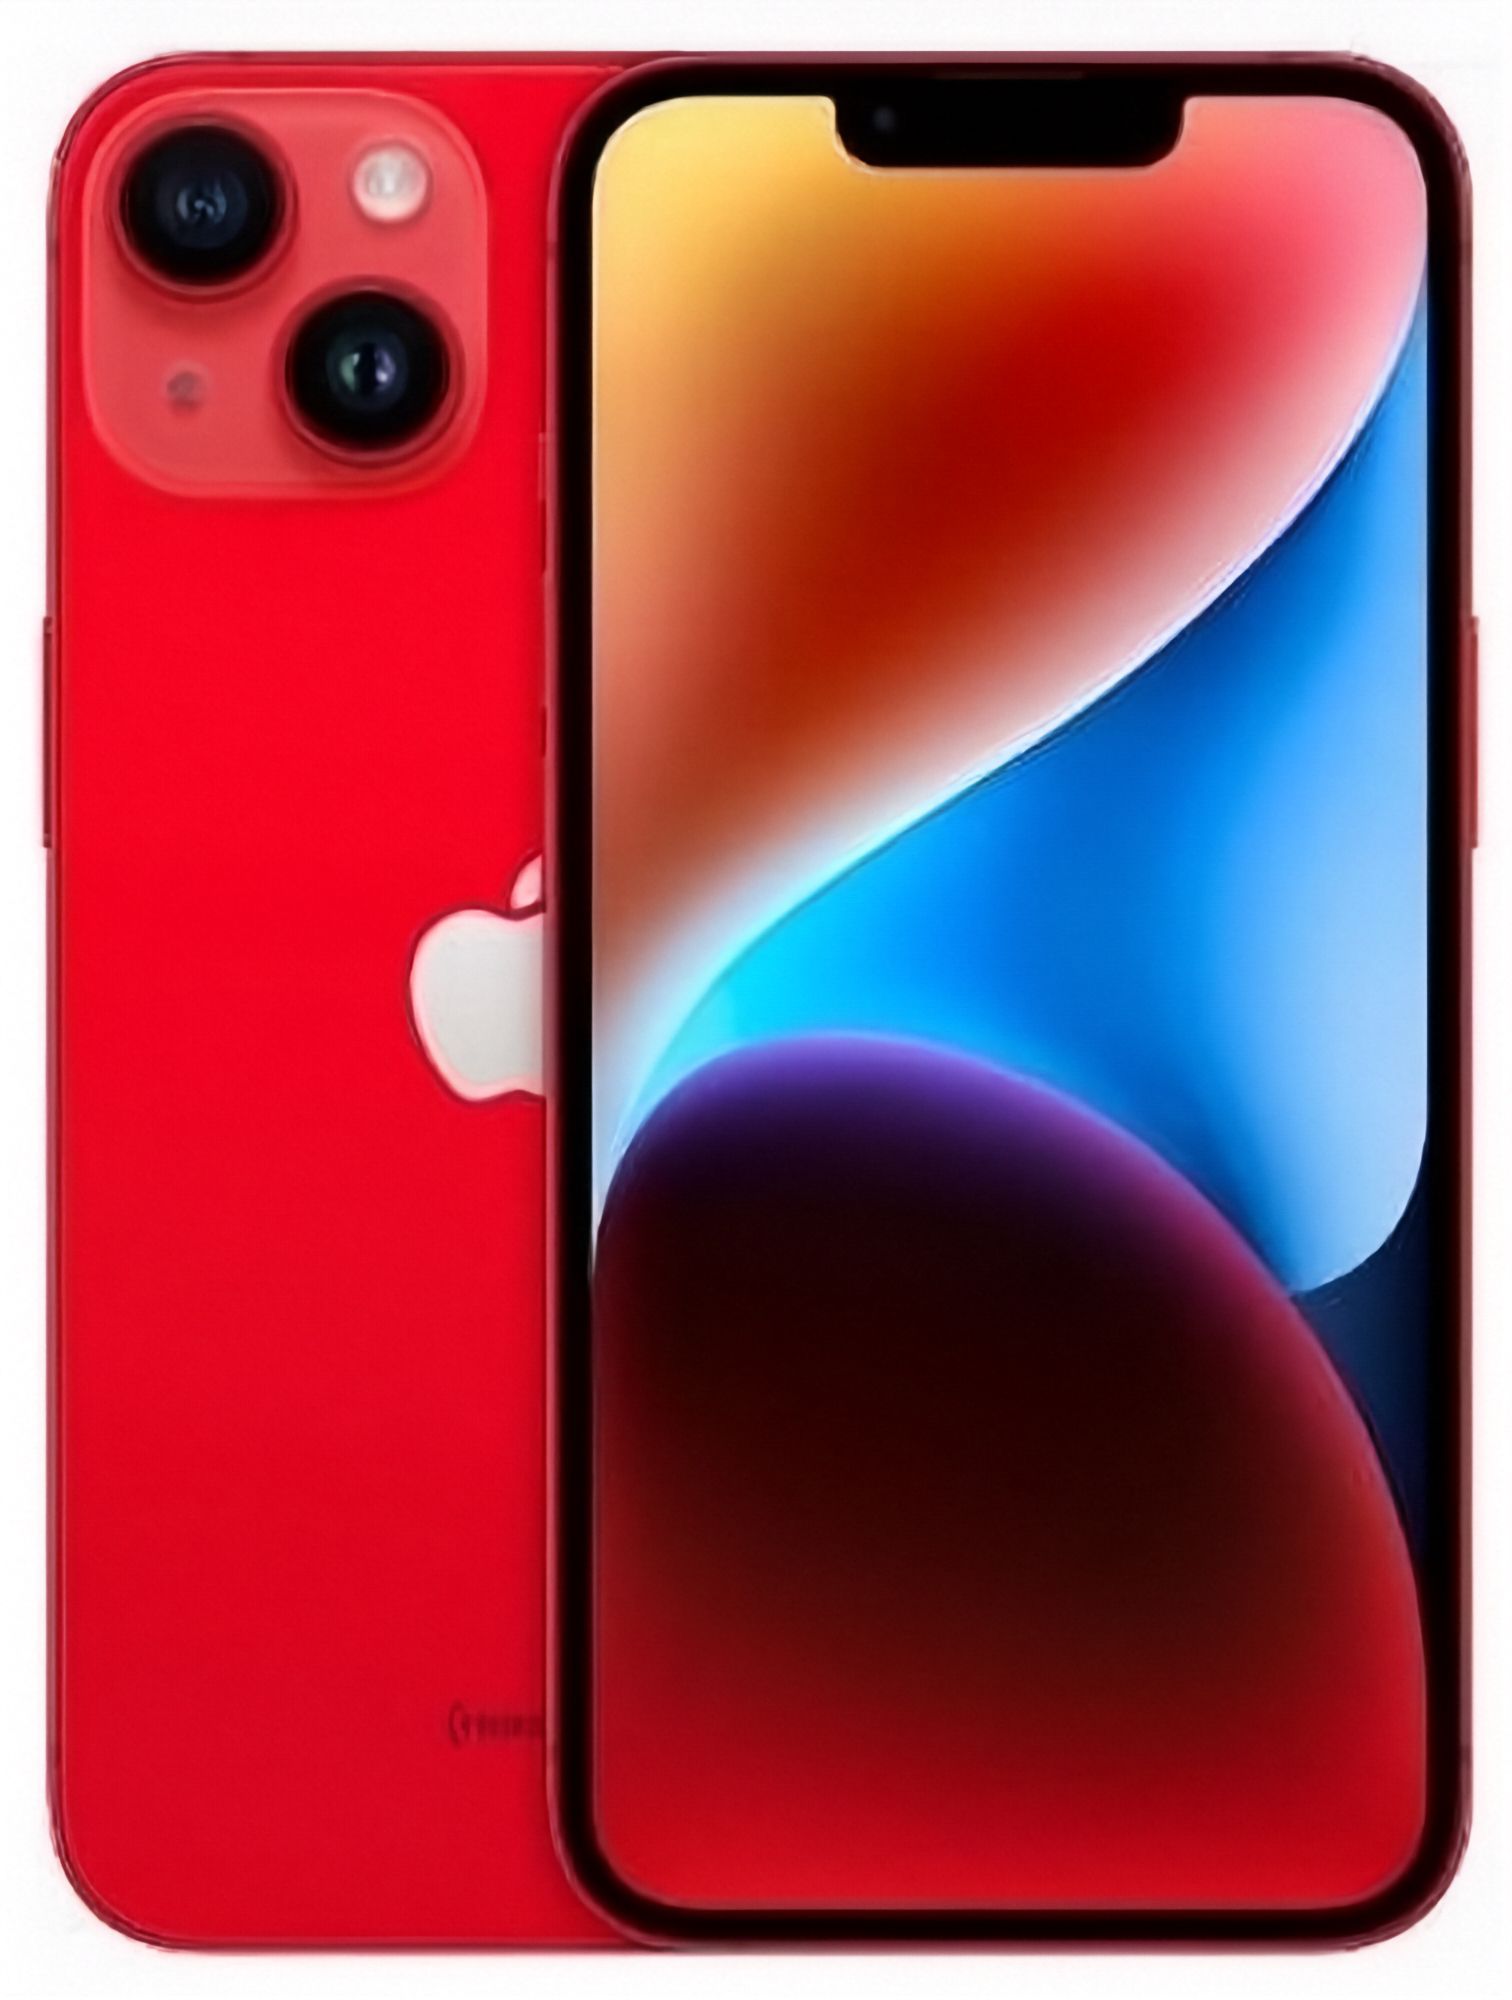
A refurbished iPhone can feel like a new phone from the first hour, but only if you set it up properly. The first day is when you confirm the machine is what you paid for, move your life onto it, and set the habits that keep it running well. This checklist runs through that day in the order you will actually need it, from the moment the box opens to the last setting worth changing before you wipe your old phone.
What should you do as soon as a refurbished iPhone arrives?
Take ten minutes before you switch anything on. Look the phone over in good light: the screen, the back glass, the camera lenses and the frame along the edges. Small marks are fine if they match the listing, but what you see should line up with the grade printed on your order, and our condition guide explains what each grade means in practice. Check the box contents, and keep the packaging for at least a couple of weeks in case you need to send the phone back. Then charge it to full; the rest of setup goes much better with a full battery.
The first setting you check inside iOS matters more than any other. Open Settings, scroll to Battery, then Battery Health and Charging. On supported models this shows maximum capacity: the share of its original charge the battery can still hold. On a used phone this is the most honest number on the device, because everything about day-to-day endurance follows from it. If you are still choosing between models, our guide to checking battery health before buying a used iPhone goes deeper. EcoLoop grades its iPhones on tiers of 80%, 90% or 100% battery health, and every phone we sell holds at least 80% of its original capacity, so the figure on your new phone should be a confirmation rather than a surprise.
How do you activate a refurbished iPhone and set up a SIM or eSIM?
Setup starts the moment you power on. Choose your language, join your home Wi-Fi, and when the setup offers to move data over, pause there for a minute and read the next section first, because that screen is where the data decision is made. When the iPhone asks about connectivity you have two routes. A physical nano-SIM from Spark, One NZ or 2degrees drops into the tray and works immediately. An eSIM takes a few minutes longer, arranged through your carrier's app or a QR code, and on some imports it is the only option: US-market models from the iPhone 14 onward have no SIM tray at all, a quirk we walk through in our eSIM setup guide for NZ carriers.
Sign in with your existing Apple ID, or create one before you go far. That account holds your purchases, your backups and your Activation Lock, so switch on two-factor authentication while you are in there. Activation itself is automatic: the iPhone checks in over the connection and unlocks for use. If it stalls at an activation screen, the two usual causes are a carrier lock from an overseas network or an Activation Lock left on by a previous owner, and both are the seller's problem to fix, not yours. A phone listed as unlocked and clear of account locks should activate without a fight.
How do you move your data from your old phone to the iPhone?
Phone to iPhone is the easiest move. Continue setup on the new phone until the Quick Start screen, then hold your old iPhone next to it and scan the blue animation that appears with the old phone's camera. You then choose between transferring directly device to device or restoring from your iCloud backup. The direct transfer copies nearly everything, including home-screen layouts and most app settings. A restore from iCloud works when the old phone is already gone or already wiped, but it needs a recent backup and patient Wi-Fi. Either way, apps re-download in the background afterwards, and banking and streaming apps will ask you to sign in again.
Coming from Android, do it during setup rather than after the fact. On the Apps and Data screen choose Move Data from Android, install the Move to iOS app on the old phone, and let both devices sit on the same Wi-Fi network while contacts, photos, camera roll, messages and some app data make the trip. It does not carry everything: WhatsApp history needs its own in-app chat transfer, authenticator apps move awkwardly and often need re-enrolment, and your purchased apps simply re-download from the App Store. Keep the Android phone charged and on the bench until you have confirmed the photos, messages and notes all arrived on the iPhone.
Whatever your source, do a deliberate last pass before deleting anything: scroll the photo library, open the messages thread you reference most, check a handful of contacts, and confirm your calendar looks right. Wiping the old phone is the one step on this entire checklist that you cannot undo, so make it the very last one.
Which settings are worth changing on day one?
Before your first real call, tighten the basics. Set a passcode and enrol Face ID or Touch ID, then confirm Find My iPhone is switched on in your Apple ID settings. That is what carries Activation Lock, which protects the phone if it is ever stolen and protects its resale and trade-in value when the time comes to move on; our trade-in page explains how condition and account locks feed into a quote. Then run a software update under Settings, General, Software Update while the phone is on Wi-Fi and charging. A refurbished phone that sat on a shelf can be a version or two behind, and apps behave better once the system is current.
Battery habits are worth setting on day one too. Under Settings, Battery, Battery Health and Charging, turn on Optimised Battery Charging if your model offers it, and form the habit of charging overnight rather than leaving the phone parked on the charger all afternoon. Low Power Mode is worth knowing about for long days away from a plug. Finally, spend ten minutes on noise control: switch off notifications from apps that never deserved them, decide which ones can appear on your lock screen, and set up Screen Time if the phone is for a kid. A case and a screen protector are modest insurance for a phone that will live in pockets and bags, and this guide covers whether refurbished phones actually need them.
What should you test before you rely on your new iPhone?
Now put the phone through its paces the way a technician would, while it is still easy to talk to the seller about. Work down the list slowly. Drag an app icon across the whole screen and into every corner to prove the touch layer has no dead zones. Test the ringer, the earpiece, the loudspeaker and the microphone, on a real call or a voice memo. Shoot a photo and a short video with each camera, fire the flash, and try Face ID from a couple of different angles. Press every button, including volume and power. Plug in a charger and confirm charging starts, and if the model supports wireless charging, test that as well. Join a Bluetooth device, then make one call and load a web page on cellular data rather than Wi-Fi.
Found nothing? That was ten minutes well spent. Found a fault? Describe it precisely, note exactly what happens and when, and raise it with the seller while the packaging is still handy. Every EcoLoop device is tested and graded in Auckland before it ships and comes with a 12-month warranty, so a genuine fault has a clear path forward; if one develops later, our repairs page explains the next step, and the FAQ page answers the questions we are asked most often.
That is the whole first day: inspect, activate, move, tune, test. A refurbished iPhone that passes these checks will run like a new phone for as long as you keep it, and one that fails them tells you straight away, before your life has moved across. If you are still choosing a model, the iPhone collection shows everything available now, and see current prices on the model page for the stock and pricing that apply today.